The File Upload question in ActiveCalculator is a powerful paid feature that allows respondents to attach files to their form submissions. By including a File Upload question in your calculator form, you enable users to provide additional information or context through various file formats, enriching the data you collect.
ActiveCalculator supports all file types for upload, with a maximum file size of 100MB per file. This means respondents can send you anything from MP3 files and DOC documents to high-resolution images in JPEG format.
Use Cases
The File Upload question is incredibly versatile and can be used in a variety of scenarios. For example:
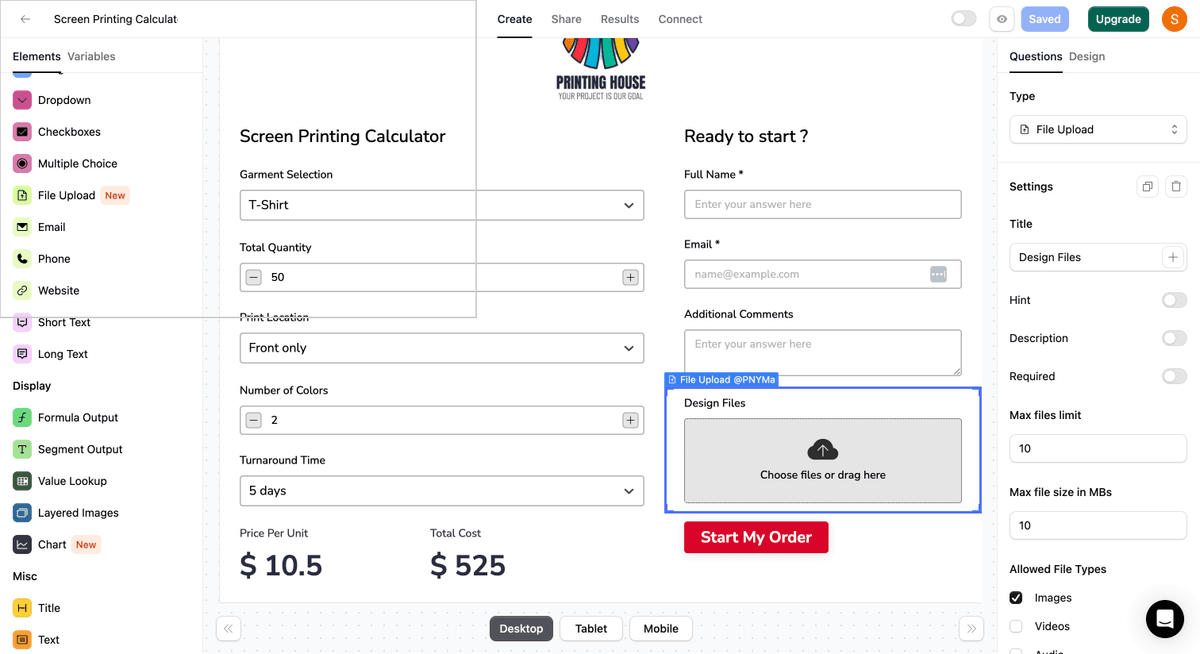
- Collecting design files or sketches for a screen printing quote
- Receiving resumes or cover letters as DOC or PDF files
- Gathering product images or photographs in JPEG or PNG format
Respondents can also upload files directly from their mobile devices. When viewing the form on a phone or tablet, they can either select a file from their device's library or capture a new photo using the camera and upload it instantly.
Adding a File Upload Question to Your Calculator
To add a File Upload question to your calculator:
- Click on the File Upload question in the calculator editor to add it to your form.
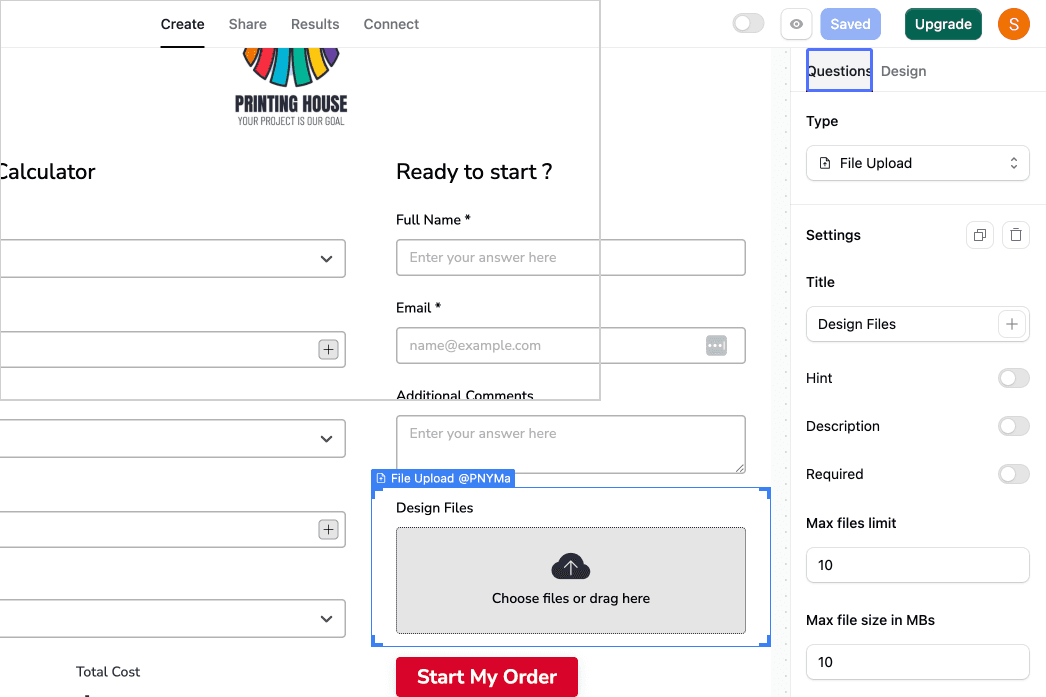
- Click on the newly added File Upload question in the editor to open the right sidebar settings.

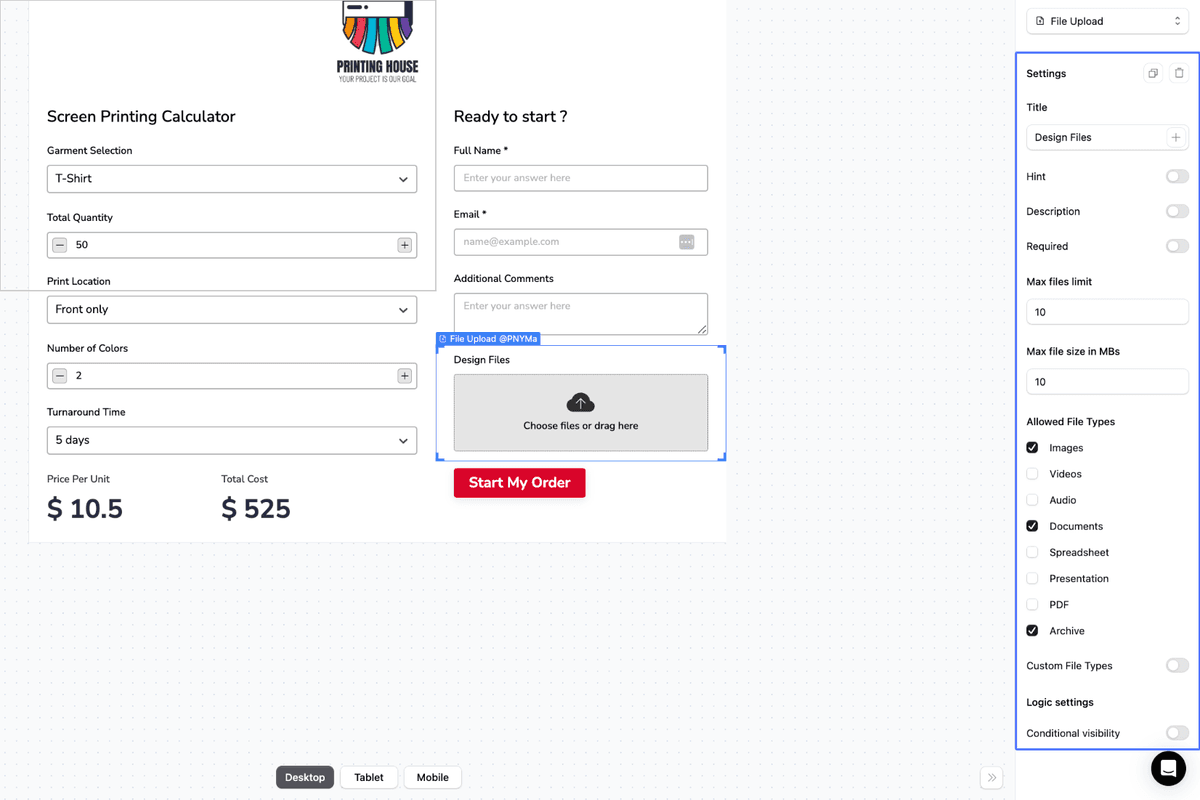
- In the right sidebar, click on the "Settings" tab to access the File Upload Settings Options.

Customizing File Upload Settings
Once you've added the File Upload question, you can customize its settings to fit your specific requirements:

-
Title: Provide a clear and concise title for the File Upload question. You can also include variables in the title by clicking the PLUS button on the right side of the title settings. For example, type the @ key on your keyboard, then select which answer you'd like to insert into the question, such as the respondent's full name.
-
Hint: Add a hint to provide more context or explain what type of files you expect respondents to upload. The hint appears as a small info icon next to the question title.
-
Description: Include a more detailed description below the title to give respondents additional instructions or information. You can also incorporate variables in the description using the PLUS button on the right side of the description settings.
-
Required: Toggle the Required switch to make the File Upload question mandatory, ensuring that respondents must upload a file to submit the form.
-
Max Files Limit: Set the maximum number of files respondents can upload. If set to more than 1, users can upload multiple files at once.
-
Max File Size: Specify the maximum file size limit in MB. For example, setting it to 10MB means a single uploaded file cannot exceed 10MB in size. The introductory paid plan allows you to choose a limit between 1 and 100 MB (plans are subject to change in the near future).
-
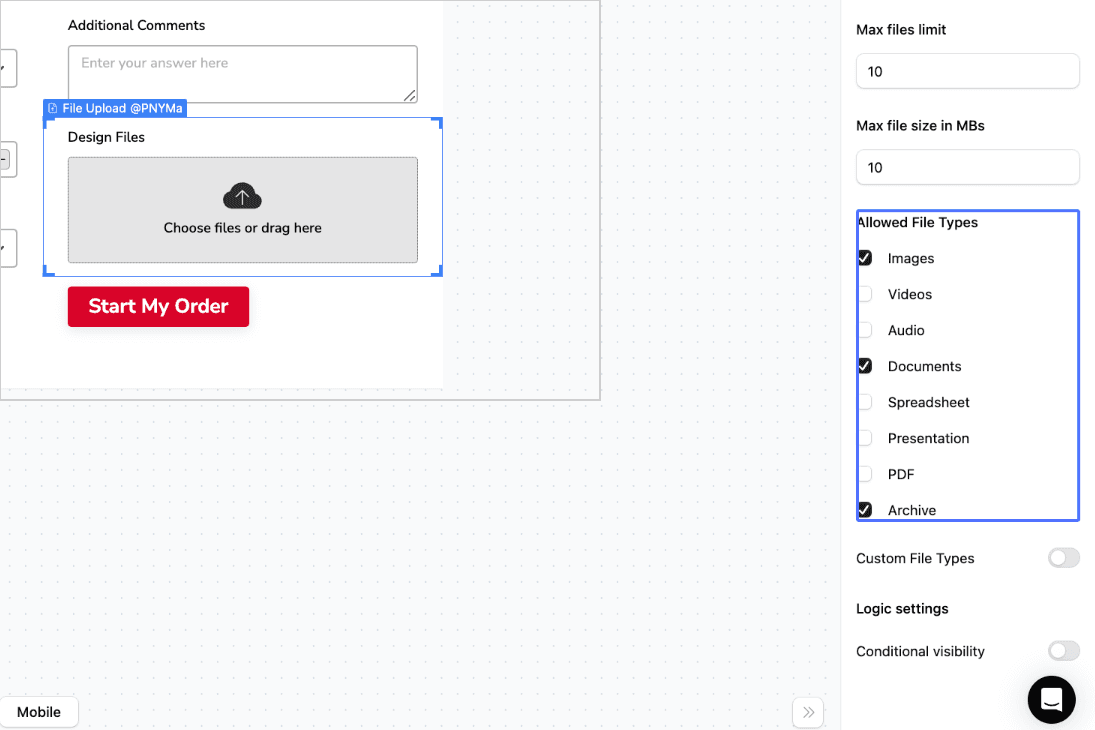
Allowed File Types: Select the specific file types you want to accept (e.g., pdf, doc, jpg). Leave this field empty to accept all file types.

- Logic Settings - Show/Hide Logic: Enable this option to control the visibility of the File Upload question based on certain conditions.
- Visibility formula: Define a formula that determines when the question is shown or hidden. If the formula evaluates to TRUE or a number above 0, the question is visible. If the result is FALSE or 0, the question is hidden.
For more information on using logic settings and visibility formulas, refer to our help article on Conditional Visibility of Calculator Input Fields.
Example Calculator Form
To see the File Upload question in action, check out our Screen Printing Quote Generator template:
Template: Screen Printing Quote Generator Template
You can clone and customize this template to suit your needs:
Cloned Screen Printing Calculator
Accessing and Downloading Uploaded Files
There are two ways to access and download files uploaded through the File Upload question:
-
Download all files from your form:
-
Log into your ActiveCalculator account and navigate to the Results panel.

Access Results Panel 
Click on Submissions 
Access direct links to individual files from the Results panel -
Click on Submissions, then choose the desired results using the custom range selector (e.g., all time, last 7 days, last 30 days) or click "Download all responses."
-
Select your preferred download format (CSV or XLSX). The downloaded file will include direct links to access the uploaded files.

Preferred Download Format
-
-
Download individual files from a direct link:
- If you share submissions in follow-up messages or view your results in Google Sheets, the File Upload question result will appear as a direct link to the file.
- Simply click the link to access and download the individual file.

Direct Link to Individual File
For more information on sending follow-up messages and integrating with Google Sheets, refer to our help articles:
Troubleshooting and FAQs
Q: What happens if a respondent tries to upload a file that exceeds the maximum file size limit? A: If a respondent attempts to upload a file that is larger than the specified maximum file size, they will receive an warning message and be prompted to upload a smaller file.
Q: Can I restrict the allowed file types to specific formats? A: Yes, you can specify which file types you want to accept in the "Allowed File Types" setting. Simply enter the file extensions (e.g., pdf, doc, jpg) separated by commas. Leave this field empty to allow all file types.
Q: How can I view and download uploaded files? A: You can access and download uploaded files either by downloading all files from the Results panel in your ActiveCalculator account or by clicking on direct links to individual files in follow-up messages or Google Sheets integration.